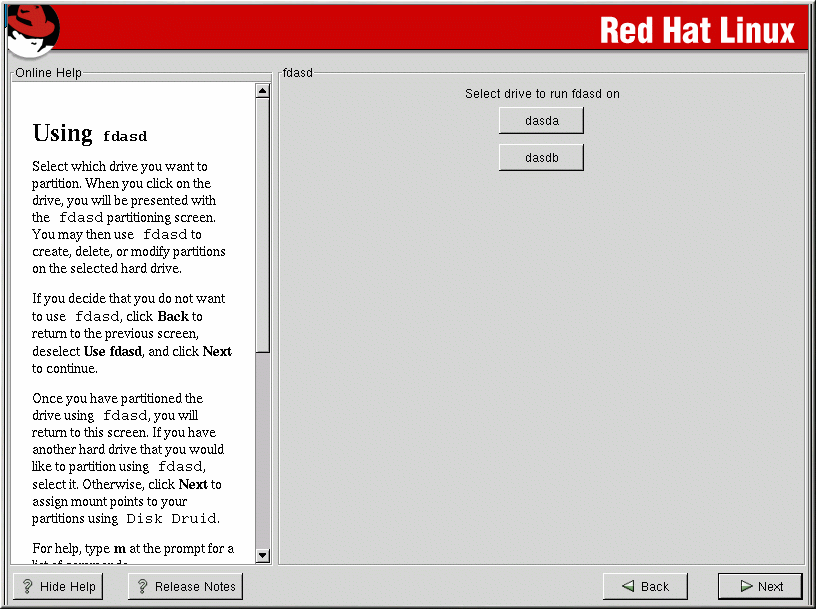
Partitioning with fdasd
If you have assigned previously unused DASDs to the Linux VM, the installation program is sometimes unable to determine the size and geometry of this DASD. In such cases you may see a message similar to: Unable to determine geometry of file/device. You should not use Parted unless you REALLY know what you're doing! This message is presented just for your information. Press Ignore to continue with the installation process. The DASD will then be initialized using the dasdfmt program.
Before you partition your DASD device(s), you may need to initialize the DASD device(s) first. You will only see these screens if the installation program does not find a valid partition table on your DASD device(s), or the DASD device has not been already initialized w/ the Compatible Disk Layout (CDL).
Once you choose to initialize the DASD device, you will see a progress bar while the initalization process takes place.
To use fdasd, you must first select a drive to
partition using fdasd. Once you have chosen
which drive to partition, you will be presented with the
fdasd command screen. If you do not know what
command to use, type
The following table provides the most common fdasd commands.
Table 2-1. fdasd commands
| Command | What it Does |
|---|---|
| m | displays help |
| p | displays the current partition table |
| n | creates a new partition |
| d | deletes a partition |
| v | changes the volume serial |
| t | sets the type of partition |
| r | recreates the VTOC |
| s | shows the mapping between partition numbers in the device node and the z/OS data set name |
| q | quits fdasd |
| w | writes the partition table to disk |
You will need to be aware of a few issues regarding partitioning with fdasd. First, Linux fdasd creates partitions of type linux by default. The partition type for any given partition may be specified by using the t command in fdasd. The three (3) partition types available are:
Table 2-2. Available Partition Types
| Type ID | Type Name (Description) |
|---|---|
| 1 | Linux Native |
| 2 | Linux Swap |
| 3 | Linux RAID |
RAID partitions and swap partitions need to be marked as such using fdasd at this stage of installation.
Red Hat Linux for S/390 supports the Compatible Disk Layout (CDL) for DASDs. CDL supports up to three (3) partitions (and is z/OS compatible). We suggest taking a note of which partitions (e.g. /dev/dasda2) are intended for which mount points (e.g. /usr) as you create partitions in fdasd.
When you are finished making partitions, type
 | Note |
|---|---|
None of the changes you make take effect until you save them and exit fdasd using the w command. You can quit fdasd at any time without saving changes using the q command. |
After you have partitioned your drive(s), click Next. You will need to use Disk Druid to assign mount points to the partitions you just created with fdasd.
You will not be able to add new partitions using Disk Druid, but you will be able to assign mount points for the partitions you have already created. For each partition created with fdasd, click on the Edit button, choose the appropriate mount point for that partition from the pulldown menu, and click on OK.


